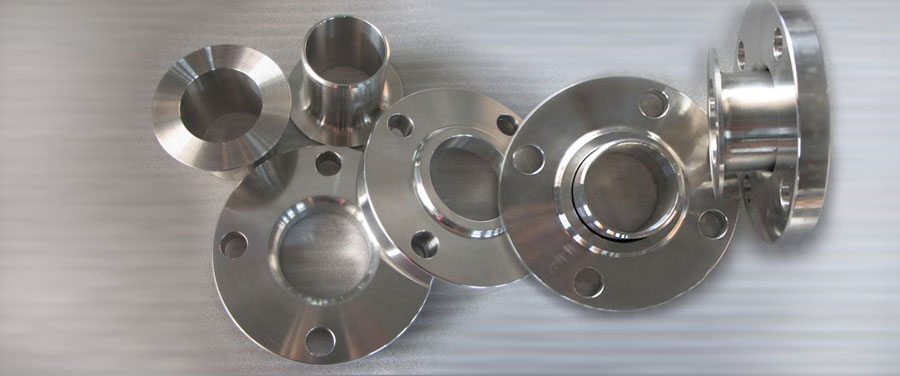
| Threaded, Slip-On, Lap Joint, Socket Weld and Blind Flanges Tolerance |
| *Outside diameter |
O.D. 500 or smaller |
|
± 1.6 |
| O.D. over 600 |
|
± 3.1 |
| Inside diameter |
threaded |
to standard gauge limits slip on: lap joint: socket welding |
| 250 and smaller |
+ 0.7 |
− 0.0 |
| 300 and largee |
+ 1.6 |
− 0.0 |
| diameter of counter bore |
threaded |
|
|
| 250 and smaller |
+ 0.7 |
− 0.0 |
| 300 and large |
+ 1.6 |
− 0.0 |
| *Outside diameter of hub |
300 and smaller |
+ 2.3 |
− 1.6 |
| 350 and larger |
|
± 3.1 |
| diameter of contract face |
1.6 raised face |
|
± 0.7 |
| 6.3 raised face : tongue and grooved male and female |
|
± 0.4 |
| thickness |
450 and smaller |
+ 3.1 |
− 0.0 |
| 500 and larger |
+ 4.7 |
− 0.0 |
| *length through hub |
250 and smaller |
|
± 1.6 |
| 300 and larger |
|
± 3.1 |
| drilling |
bolt circle |
|
± 1.6 |
| bolt hole spacing |
|
± 0.7 |
| eccenticity with respect of to bore |
|
0.7 max |


